Blog
Commercial Photography
Product Photography
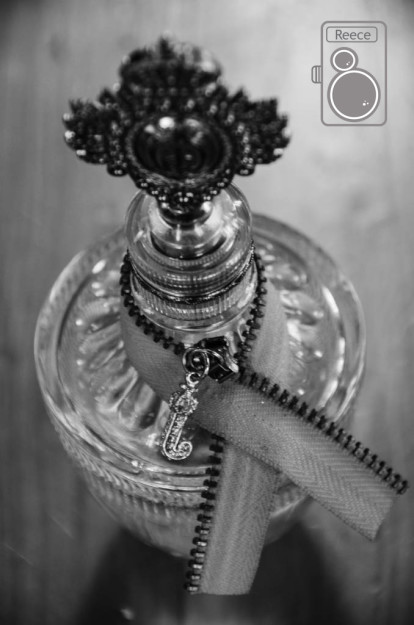
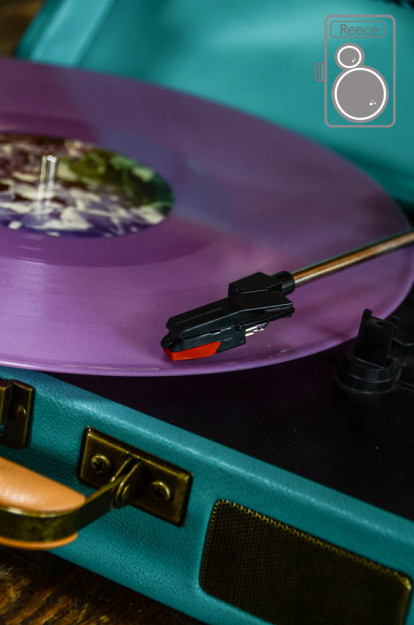
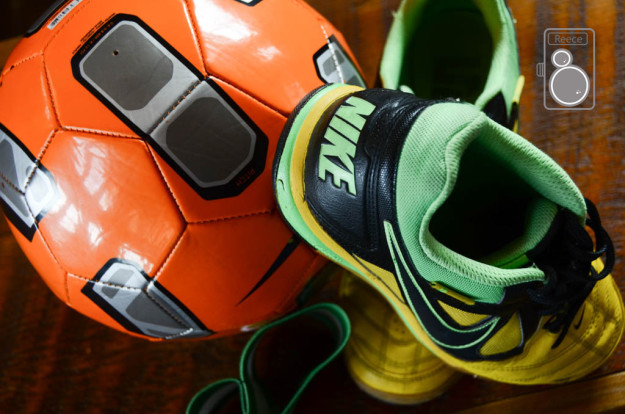
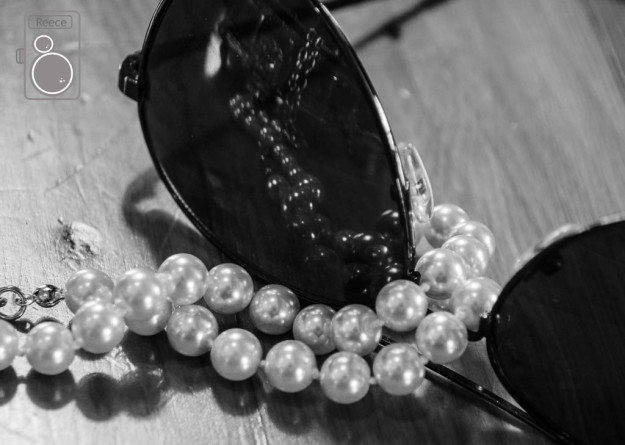
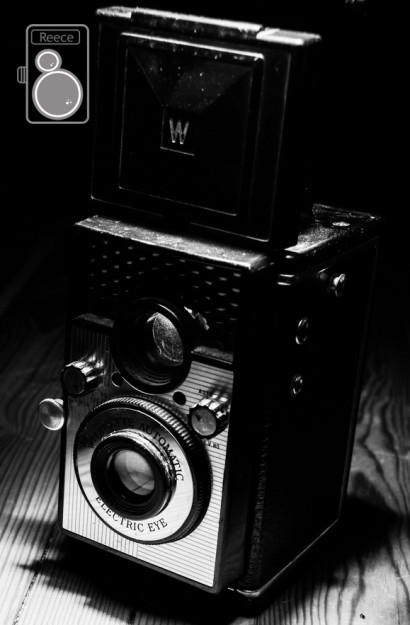
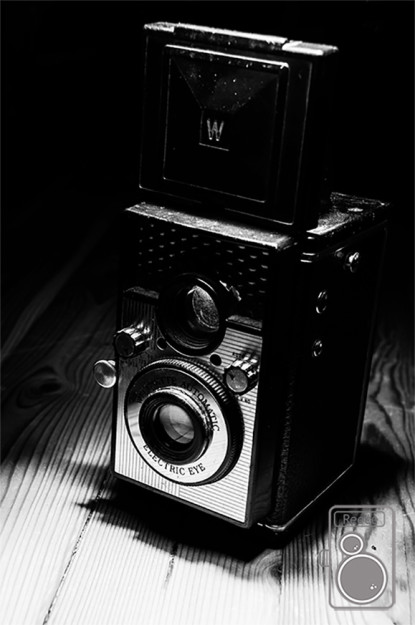
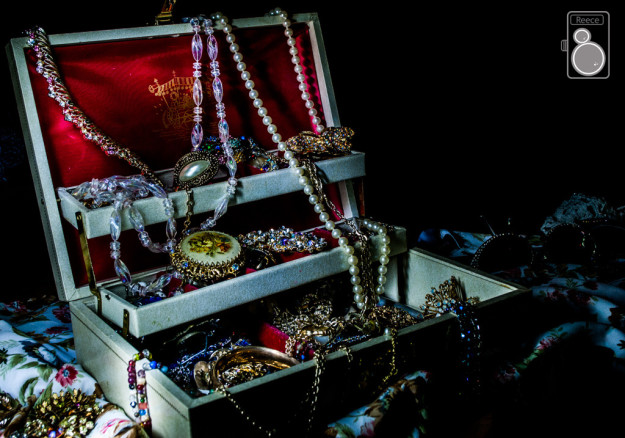
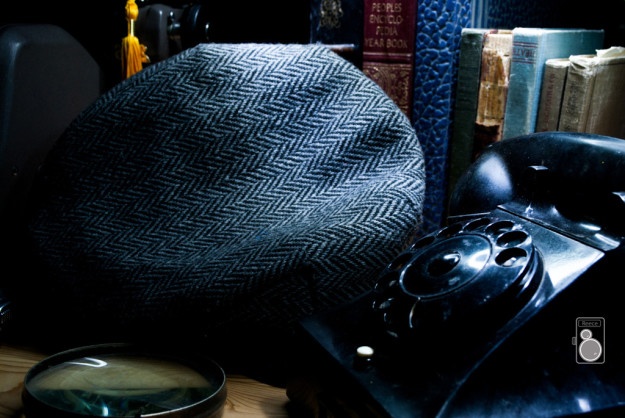
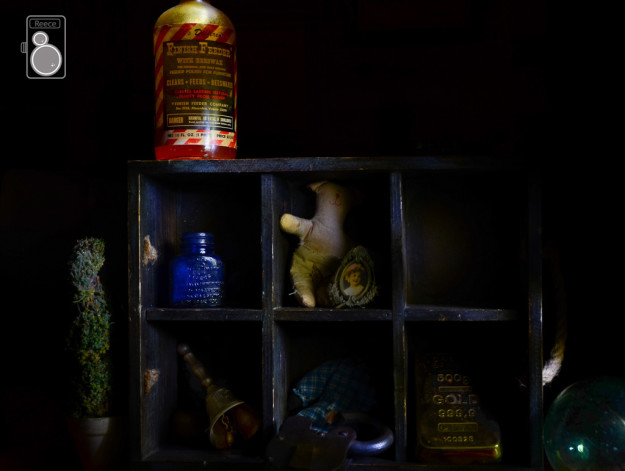
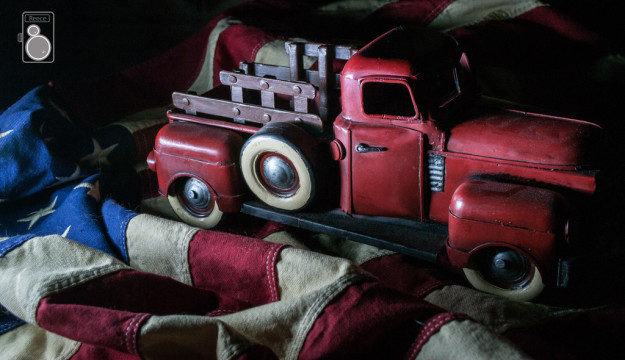
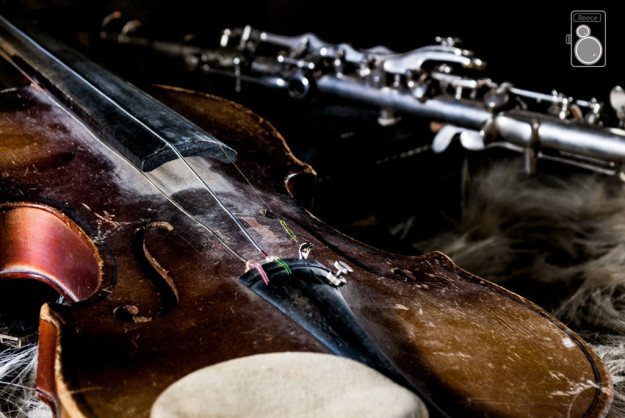
One of the main things photographers work on is product photography. There are many different unique ways to display different objects. The biggest thing to keep in mind who your audience is. You want to display a product in a way that really shows how great the product is. It needs to be appealing to who will be buying it and different angles can make all the different. Using light boxes, LED lighting, and speedlights, I was able to create these unique shots of different products. Caryn Esplin gave me some great tips with how to find the perfect shot and what makes it look even better.
Here is an awesome website giving great tips about commercial and product photography.
Fresh Produce
Food Photography
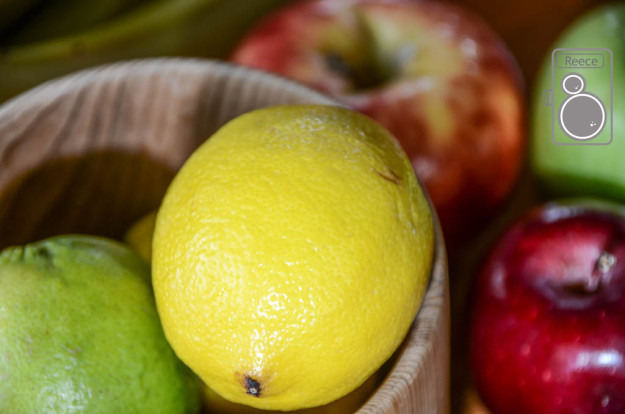
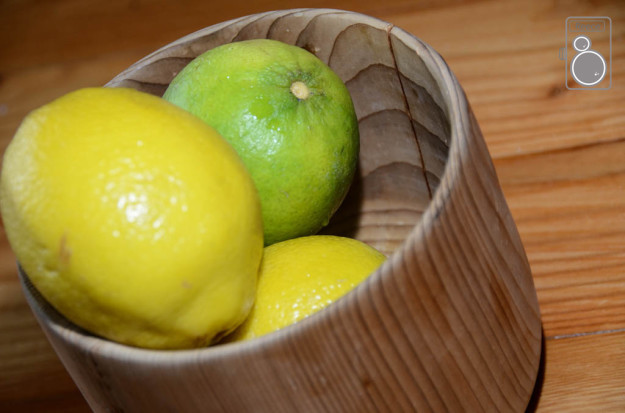
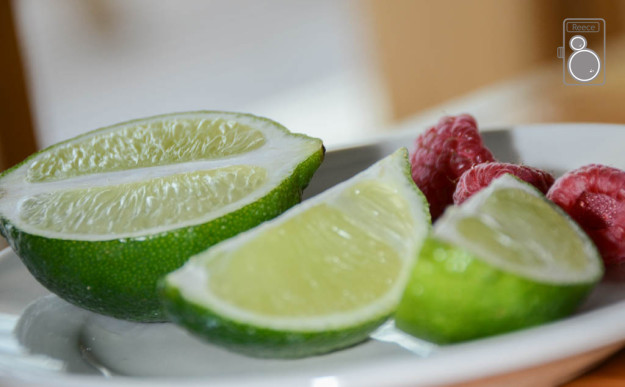
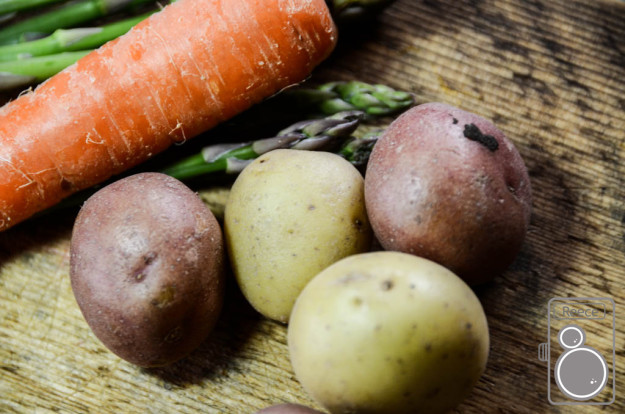
There are many different techniques when it comes to food photography. Lighting, setup, and knowing who the audience is are all things that need to be included. These photos were taken with different types of lights. I used different LED lights, speedlights, and natural lighting. For the different setup, you need to look at what you are shooting and how to best pose the food. Different angles and focuses create unique and fun photos. Caryn Esplin is really great at helping with posing and thinking about the clients. I learned a lot from her with these shots.
Here is another awesome website that teaches awesome skills when it comes to food photography.
Fine Art Print
Printed Fine Art
This fine Art Print is ready to be printed at 24X 16. In order to prepare this photo for that large of a print, I had to do a few adjustments. First I lighted the photo. Printers typically print darker, so by lighting them just a bit I am able to keep the balance. Next I did a smart sharpen over selected areas. I also wanted to really establish a focal point. This will be really great prints to be a focal point in any room. Here is some great tips on printing fine art photography.
Before
After
Creative Choice Animation
Bobble Head
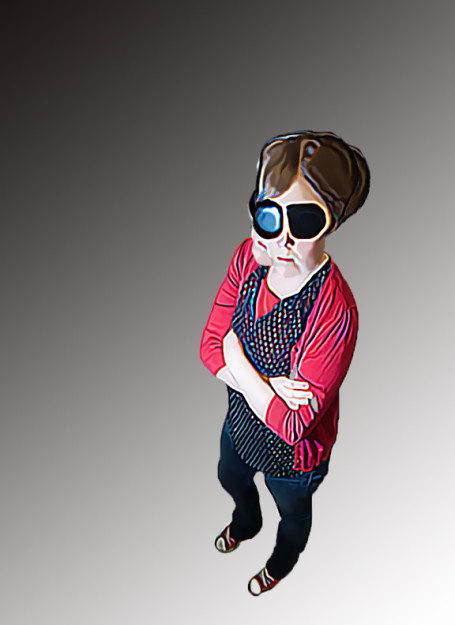
This photo was really fun to create. This was a self portrait I took of myself a could weeks ago. Using different tools in photoshop, I was able to create a plastic looking texture and to change portions of my eyes, hair, neck, nose, and mouth. It was a lot of fun to see what you could do. Then you add in the animation and get a cool bobble head effect. Here is a fun website showing more creative ways to make a bobble head.
Creative Choice Mosaic
Mosaic Photography
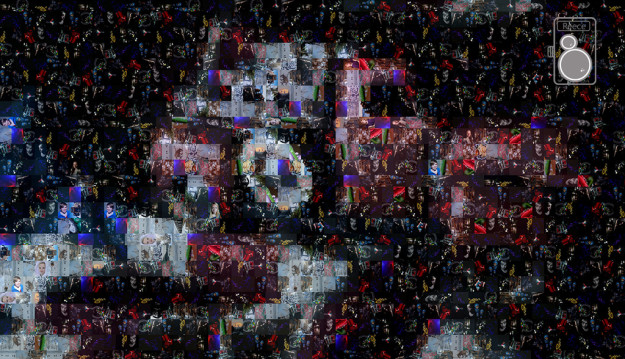
For this project I decided I wanted to create a Mosaic of the recent photography excursion I was able to go on. I first went and located all of my favorite photos from the trip and put them into a folder. Next I downloaded the Andrea Mosaic program and selected the main photo and how I wanted the photos placed. Then I added in my folder and here is the result. This is a great way to display a theme of photos to create something new and unique. Here is another great website on how to do mosaic photos.
Creative Choice
Scan Art
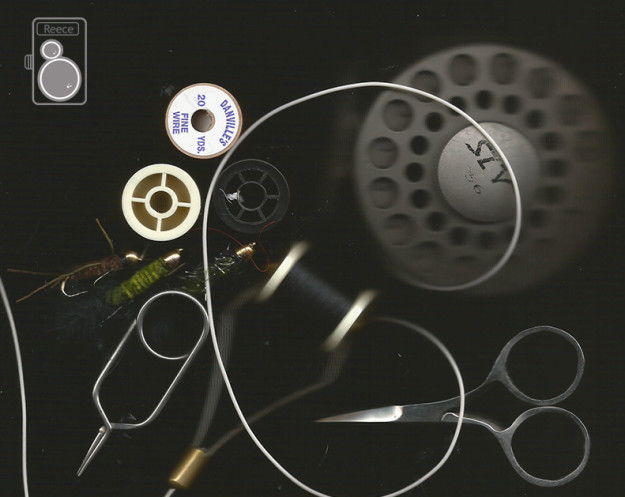
This photo was created by using a scanner, a dark room, and a little imagination. To create this design first you need a scanner, potentially in a room where you can control the light. Then I took my fly fishing objects and placed them in different designs on the scanner. I turned off the lights and then scanned the picture. With the scanner settings I changed the DPI to 300 and then added more contrast later. This is a fun way to create a different design that is pretty easy and different then what you have seen before. I just used my own scanner for this art and really liked the results I was getting. Here is a great website about scan photography.
FAPOS and Fine Art Photography
Winter Fine Art Photography
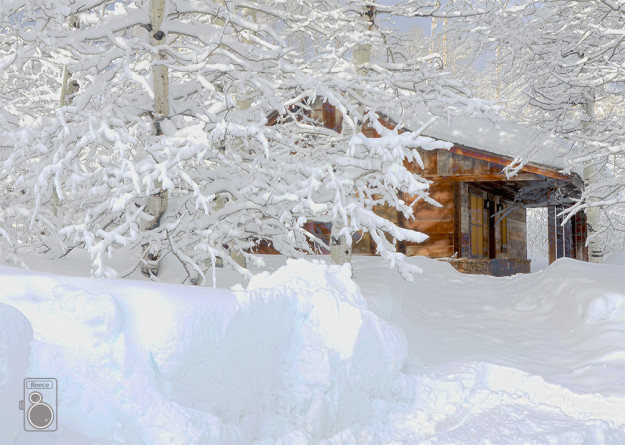
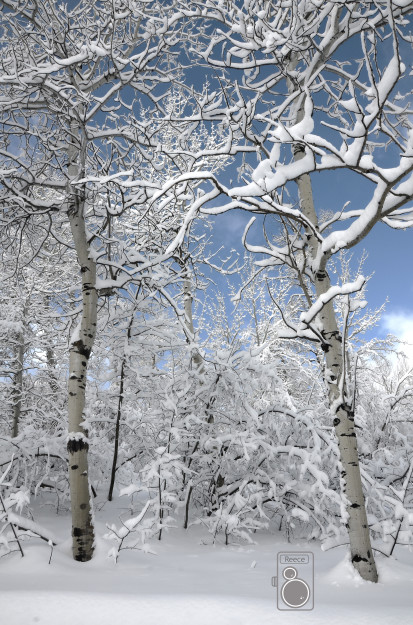
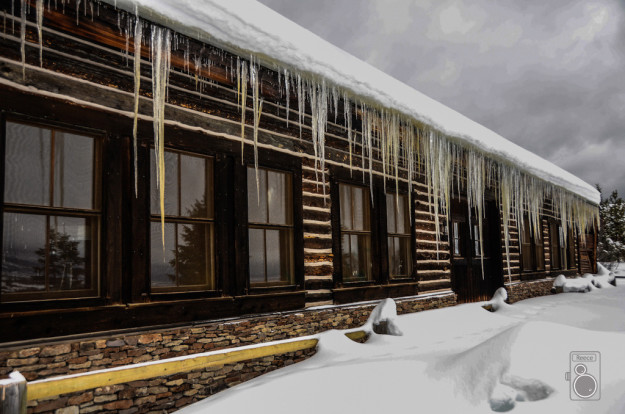
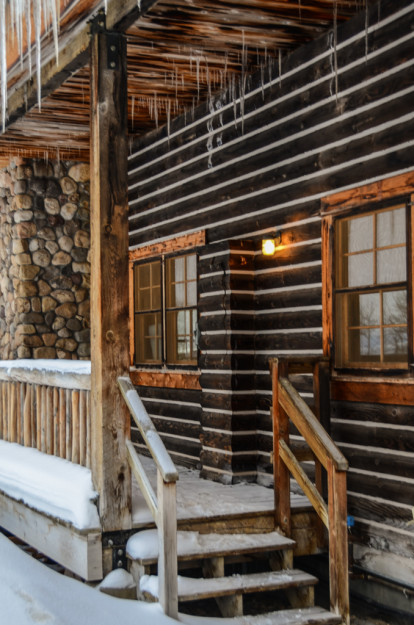
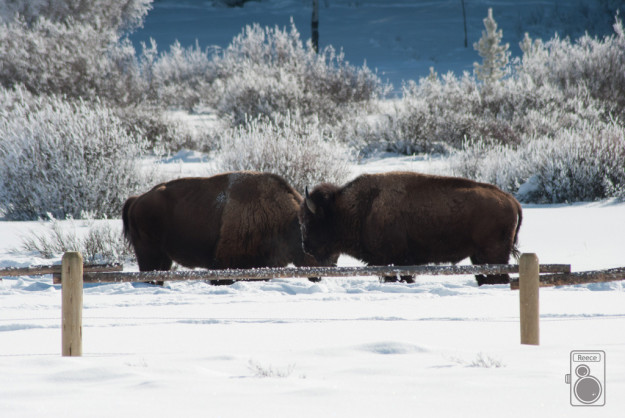
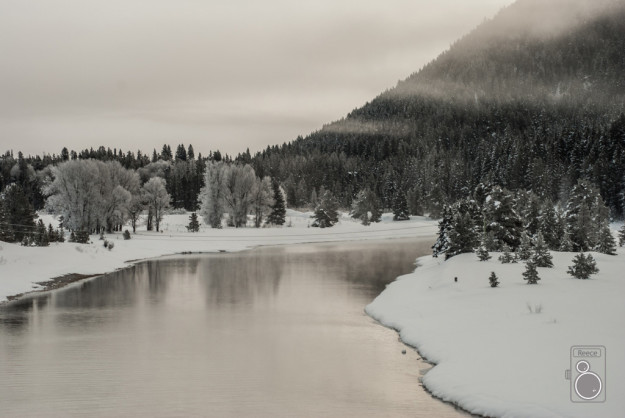
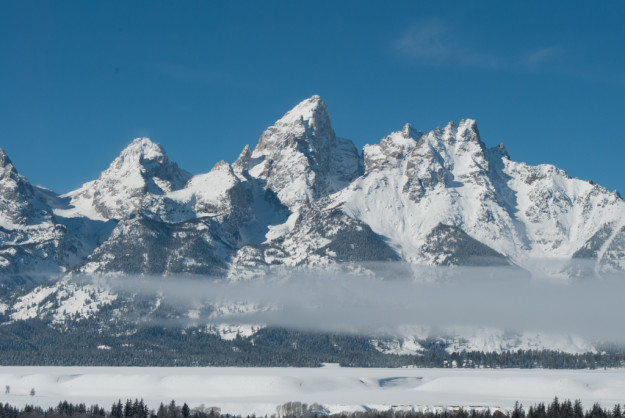
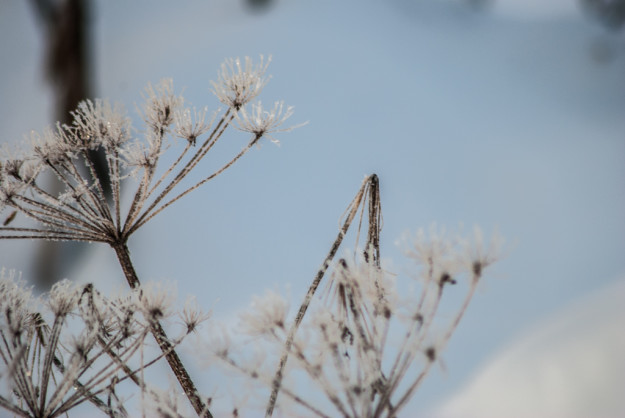
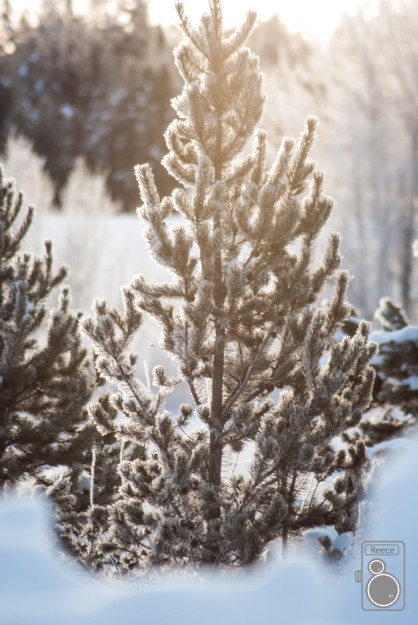
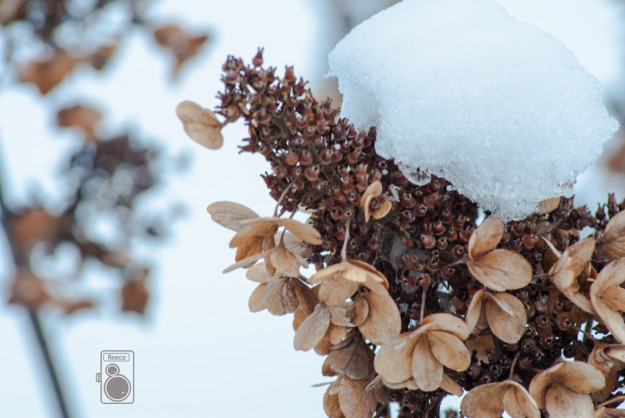
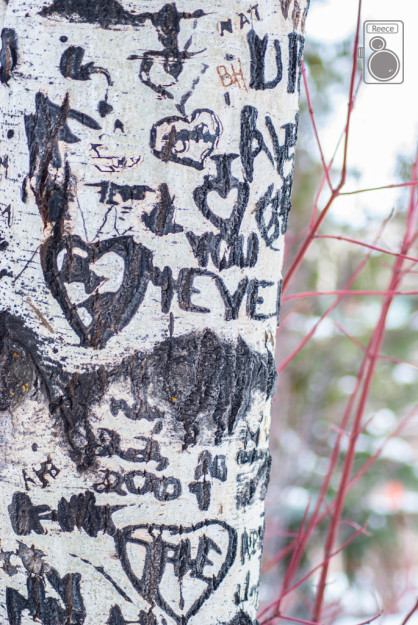
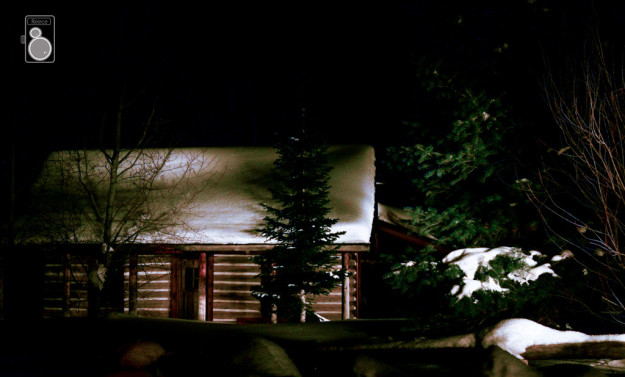
There are many beautiful scenes we see all around us. Even in winter you can find beautiful scenes. Here are a few fine art prints from Jackson, WY and Victor, ID. The first two photos are HDR compiled together. Using the bracketing feature in camera, I took 3 different exposures of each scene. In post, I combined them together to create these beautiful scenes. In order to create a beautiful fine art, I find that you need to look at a scene and to be able to see the most beautiful angle. Unique angles, different lighting, and black and white photos creates awesome fine art photography.
Caryn Esplin is an amazing photographer, especially with fine art. Here is a great website on fine art photography tips.
Outdoor Light Painting
There are a lot of different tricks you can do to enhance your outdoor photography. At night you can try a lot of different techniques to bring out different scenes.
This first photo is an outdoor light painting. Using a lot of different high power flashlights, a tripod, and a long shutter speed you can paint the scene to create something cool like this photo. My settings were F/14, shutter speed 20 seconds, and ISO 400. Here is a great website on how to light paint outside.
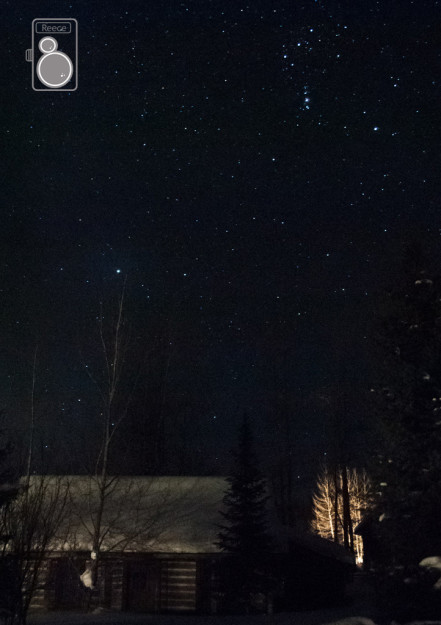
This photo is a combination of both light painting and photographing the stars. I still want to learn how to make this even better but again you need a tripod, flashlights, and a long shutter speed. To make sure the flash light doesn’t blow out the photo, you need to bounce the light off of something not in the scene for just a few seconds. My settings were F/4.5 , shutter speed 20 seconds, and ISO 3200.
To make this orb, I used a bicycle wheel that was wired with lights. A long shutter speed, tripod, and someone to spin the wheel creates this cool effect.
Caryn Esplin taught me how to be able to these different techniques. Dave Black is really amazing at doing light paintings!
Indoor Light Painting
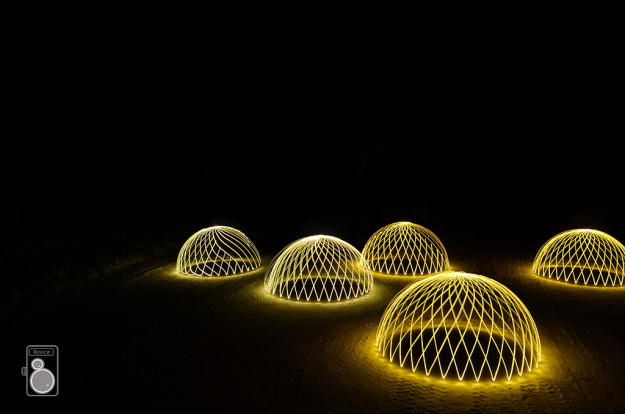
To create more interest in a photo, you need to light it differently. These photos are done with a technique called light painting. In a dark room, using a tripod, a flashlight, and a long shutter speed you can create a unique look. You begin with setting the the focus and then switching it into manual. Then using a long shutter speed and a timer you begin lighting the scene with your flashlight. Depending on the scene and the mode that you are going for, you can adjust how much light you put on the scene. My general settings for these photos were F/8, shutter speed 10 seconds, and ISO 200.
Caryn Esplin is who taught me how to set up and to take these photos. Here is another website that shows some cool ways to do more light painting.
Special Effect Photography
Using Speedlights, Smoke, Fog Machines, and Lighting Gels
Here is some really cool techniques to try in photography. Using Speedlights I was able to create unique background lighting that helped enhance these photos.
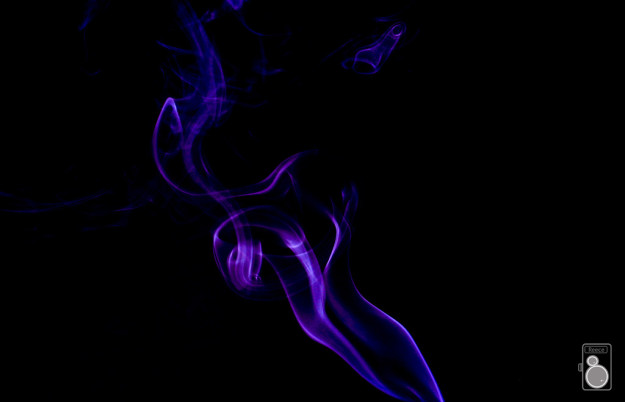
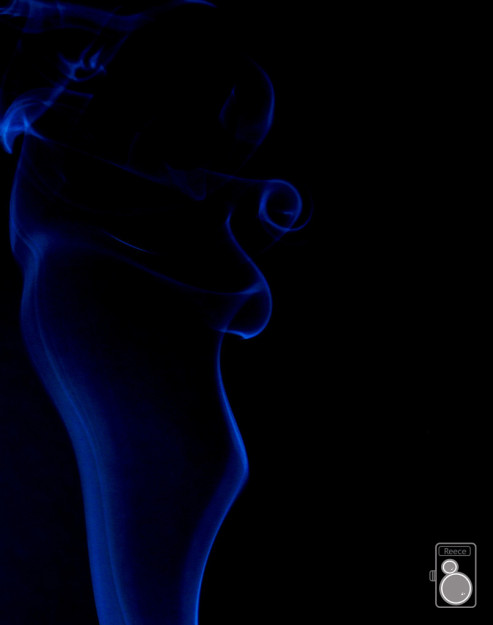
For the smoke photos my settings were F/11, shutter speed 1/200, and ISO 100. I had 2 speed lights on either side of smoke. In post I used the tint slider in lightroom and change the different hues to find the right one. Here is a great website that goes more into detail about smoke photography.
Waving your hand by the smoke creates different shapes.
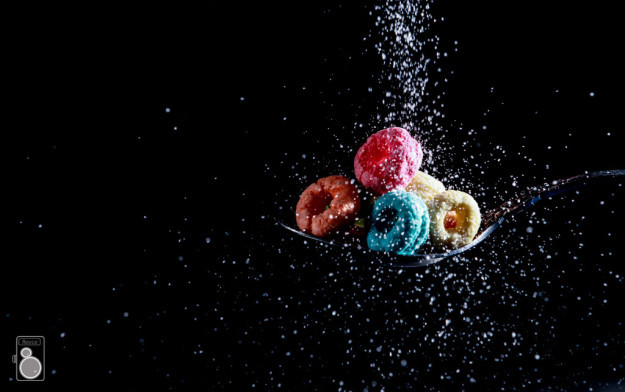
This photo was taken with a similar set up as the smoke. There was speedlights on either side. Setting a 2 second delay, I began to pour sugar over the spoon and this was the effect. My settings were F/13, Shutter speed 1/160, and the ISO was 100.
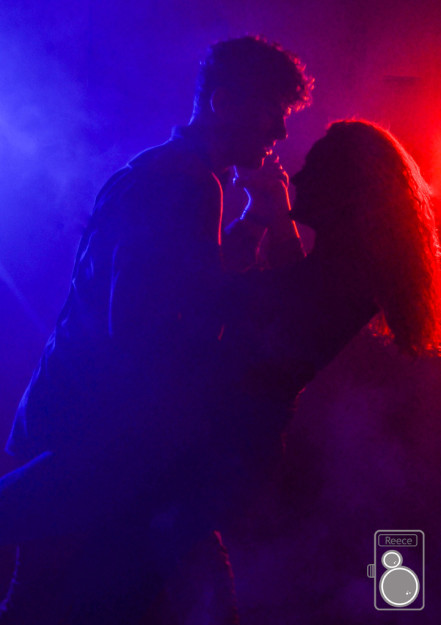
Again with 2 speed lights, there was a fog machine as well. I place colored gels on the lights and took this photo. My settings were F/4.2, shutter speed 1/250, and ISO 320.
Caryn Esplin helped me to learn these awesome new techniques. Here is another cool website showing other techniques to try. http://www.picturecorrect.com/tips/how-to-photograph-smoke/
