Blog
MTS: Mobile Triangle Snoot
Balancing and Creating Unique backdrops
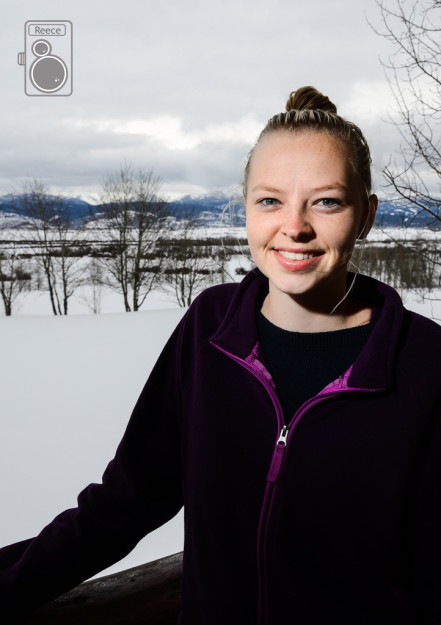
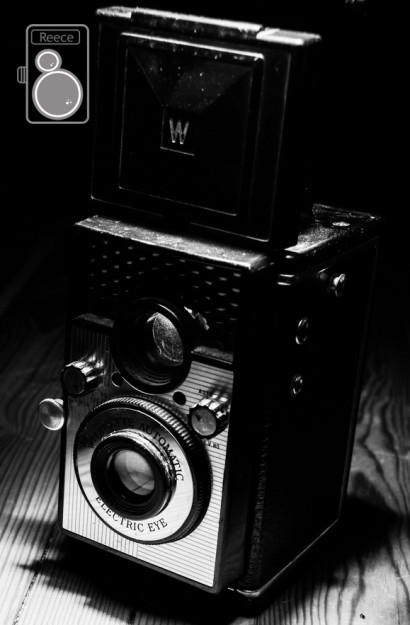
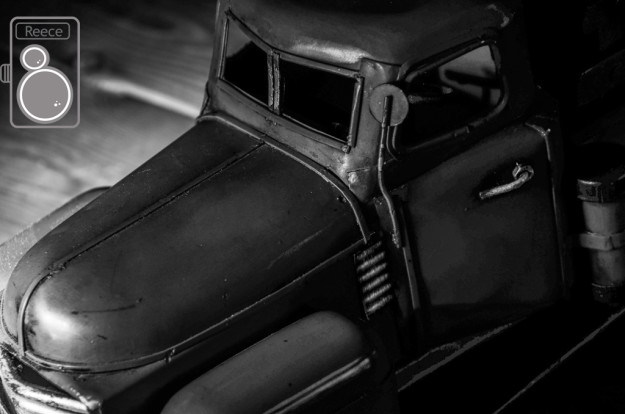
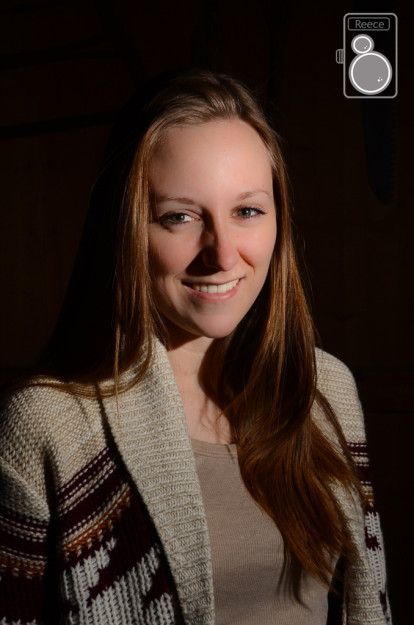
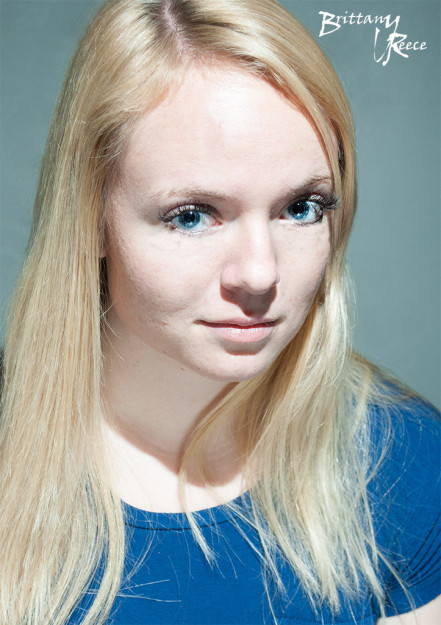
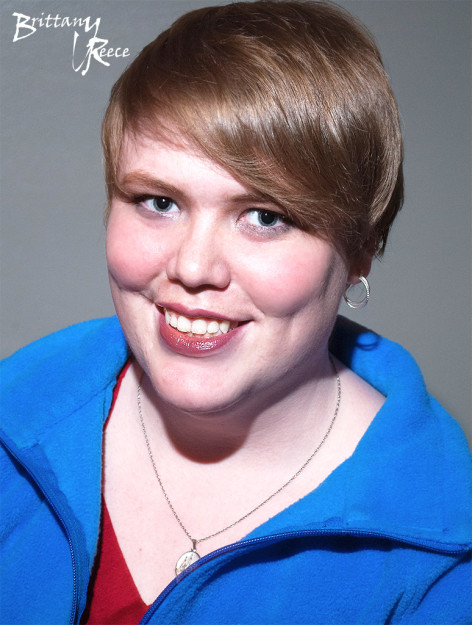
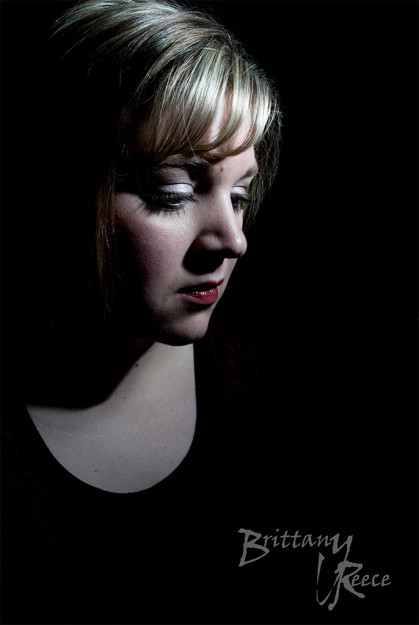
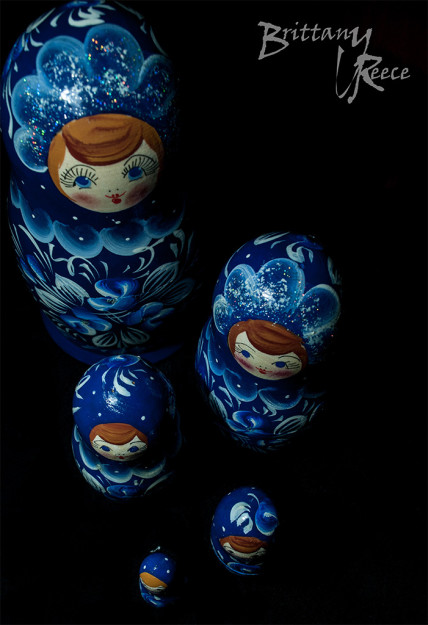
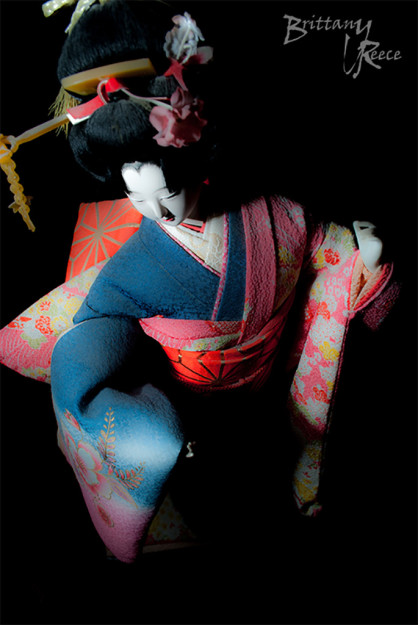
Many times when taking portraits either the background is overexposed or the subject is underexposed. One way to fix this is to have a mobile snoot. Taking a speed light you snoot the light so that you can direct it. For portraits it creates a well balanced foreground and background. My settings for that were F/8, shutter speed 1/80 and my ISO was 100. Using this same technique you can also create black backgrounds. My settings to do this kind of photography were F/14, shutter speed 1/100, and ISO 100.
Caryn Esplin is who taught me this technique. Here is another cool website where they show more ways to use this kind of lighting. http://www.diyphotography.net/diy-homemade-speedlite-snoot/
Blacklit Silhouette Portrait Photography
Unique Lighting for Portraits
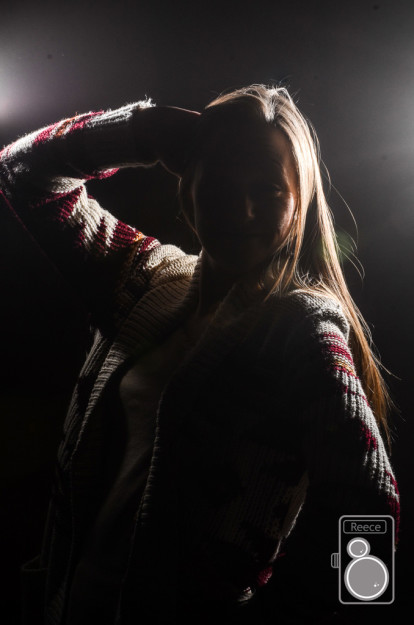
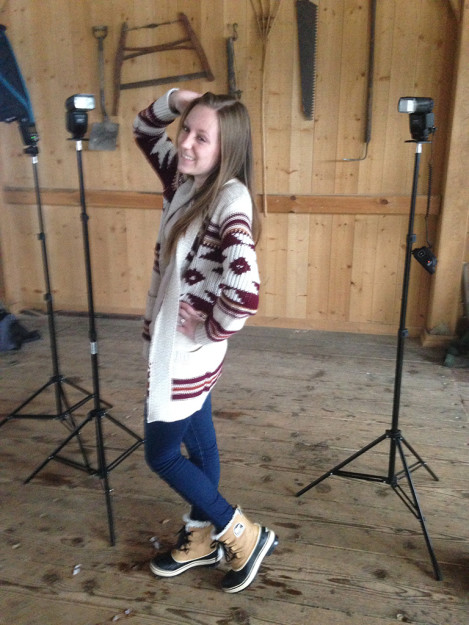
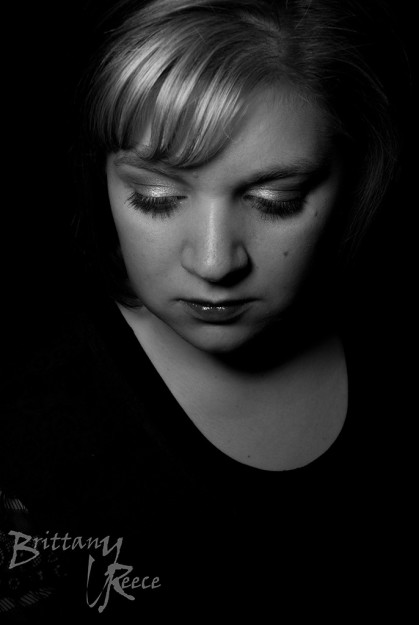
Sometimes, when taking portraits, photographers can get stuck in a rut doing the same thing each time. To give a different look to portraiture, lighting the scene in different ways creates different modes and unique looks. Here is some examples of different ways I did some portraits. Using 2 speed lights, I positioned the lights behind the model. By having the model pose in different ways, I was able to create these unique and different portraits. Finding the models personality also helps to create unique shots. My camera setting were F/14, Shutter Speed 1/160, and the ISO was 200.
Douglas Phan showed me how to set this up and how to get the best results. Caryn Esplin is also a great mentor when it comes to learning these different techniques. Here is a website with some great tips on how to use great lighting.
Back-lit
Front-lit
The Set Up
Fine Art Macro Photography
Small Details Photography
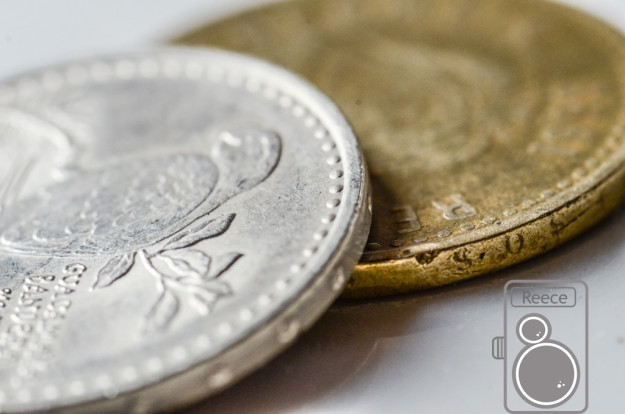
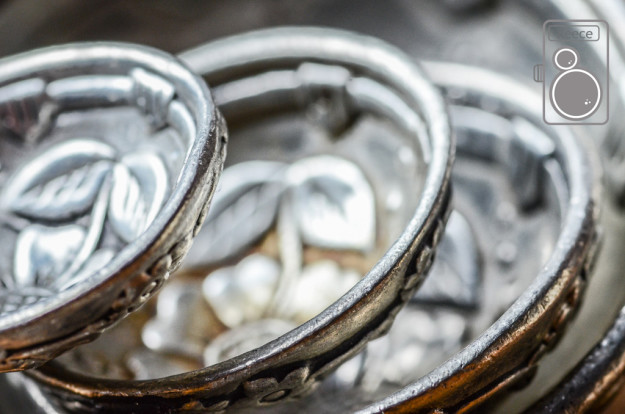
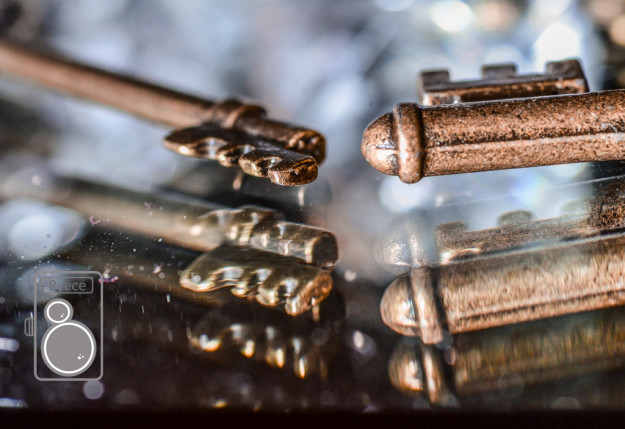
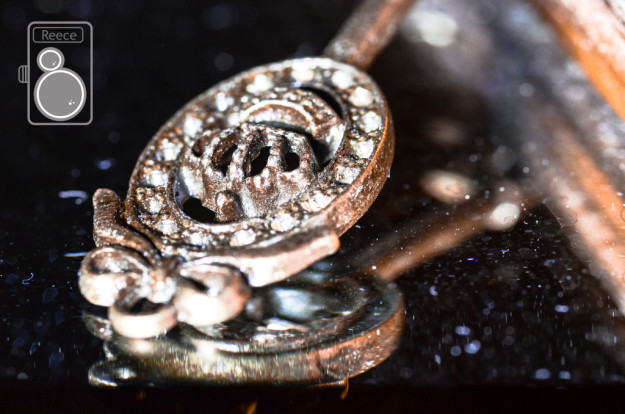
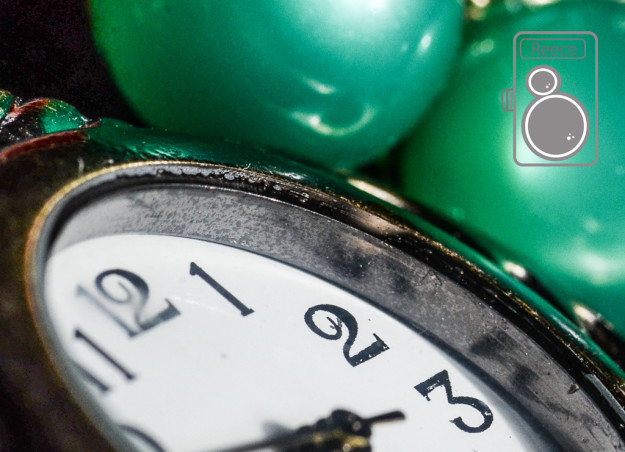
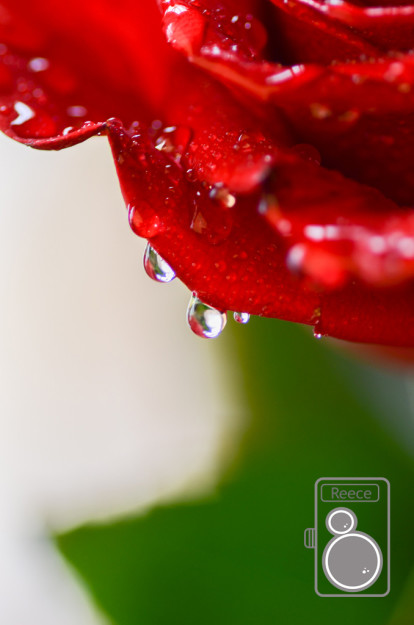
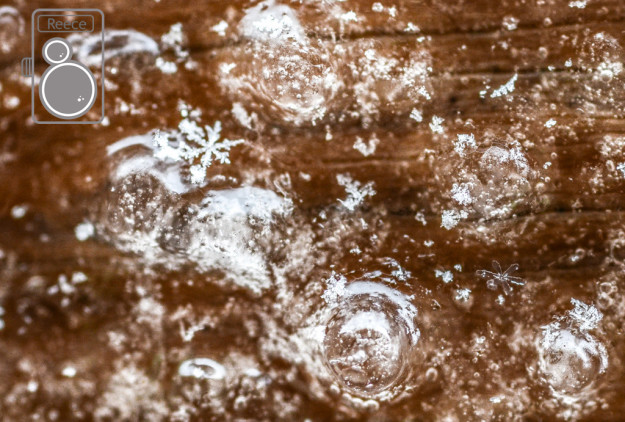
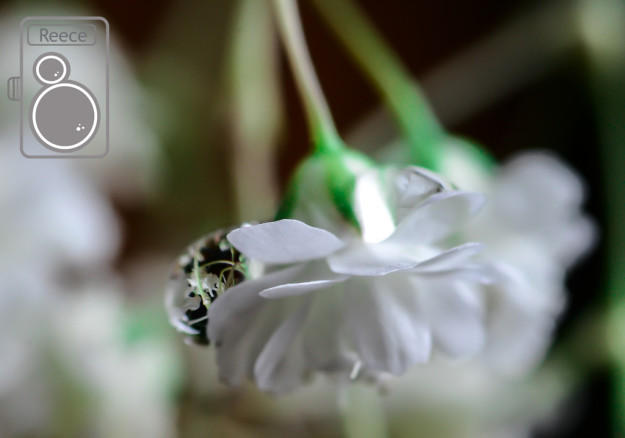
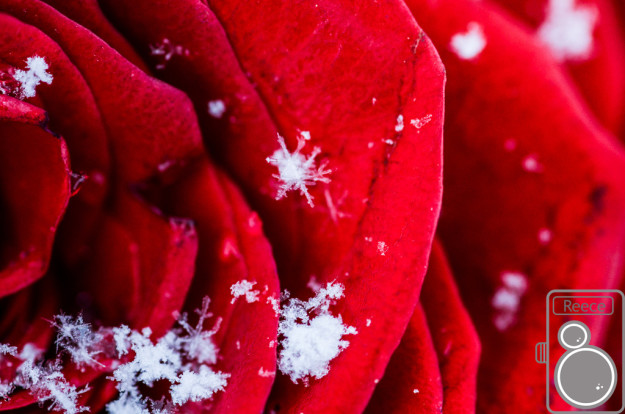
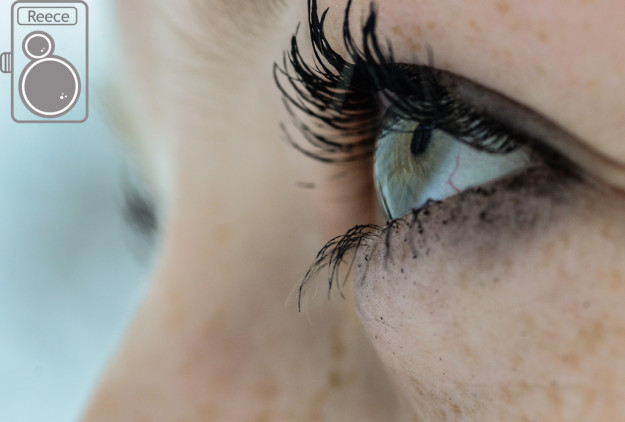
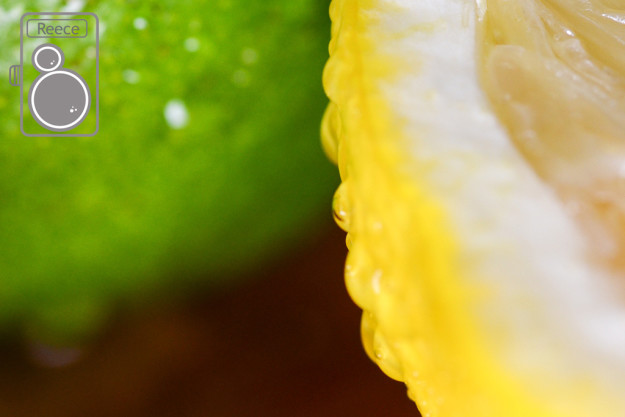
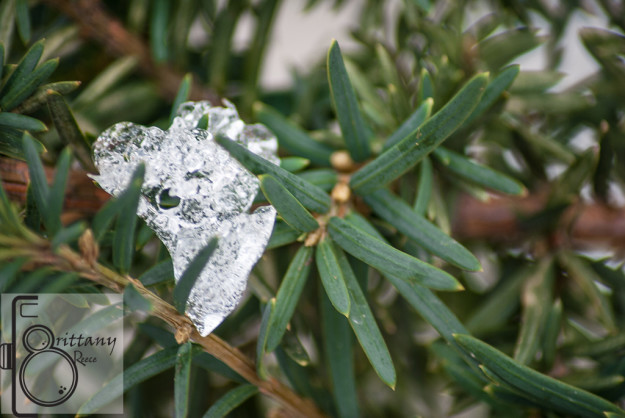
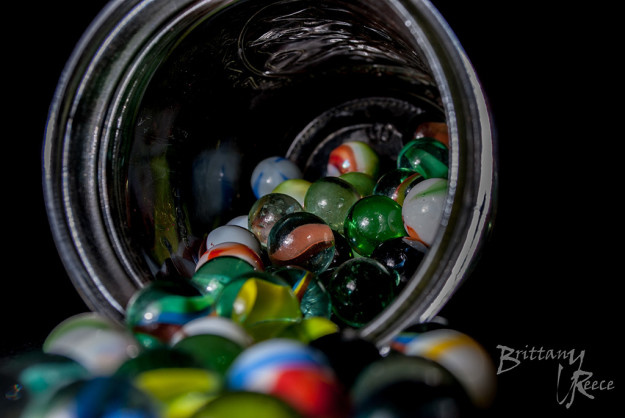
For these Fine Art Marco photographs I worked on looking at objects that we see everyday and finding the small details. One unique difference with these marco shots was using a mirror. The result was different and unique. For my settings I stayed at F/14. My ISO settings was 800 and my shutter speed was between 1/100-1/200. I used a Nikon Marco lens for these shots
Philip Greenspun has an awesome website that shows more and explains how to set up to do marco photography. Caryn Esplin is also a great expert when it comes to all things Marco. She taught me how to do Macro and what makes it even better.
Water drops Marco Photography
Fish Eye Marco Photography
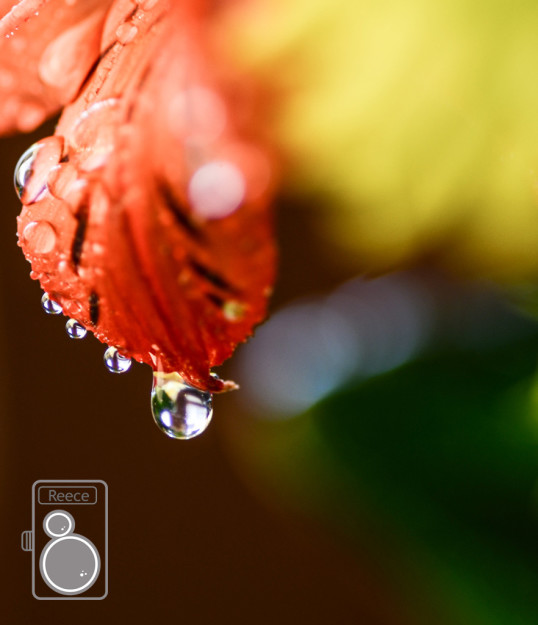
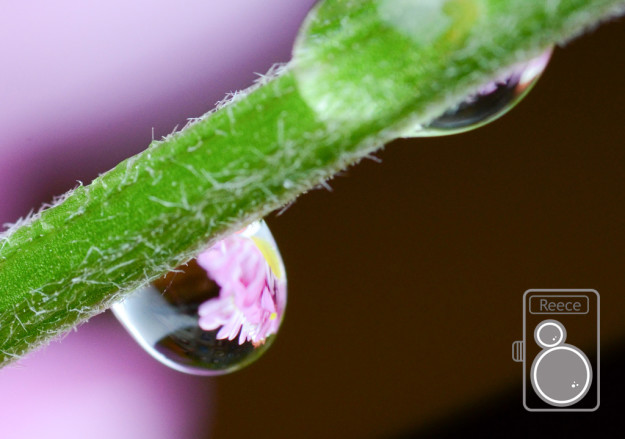
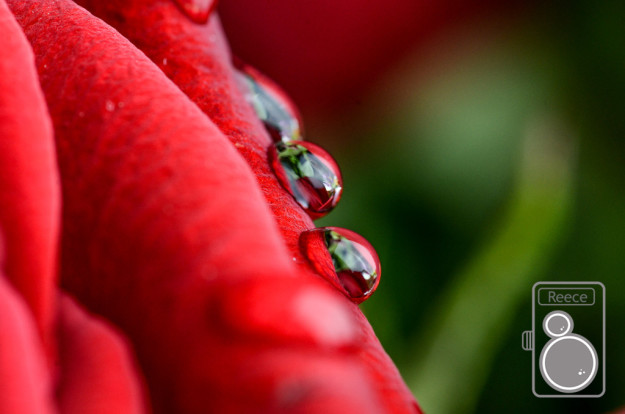
When doing Marco photography, I was able to try enhancing the photos by adding water. When you had a water drop and focus on the drop it creates a fish eye lens effect. Also just adding water drops adds to the uniqueness of these photos. For my set up, I used a a Nikon Macro lens. My settings were f/11 and f/16. My shutter speed varied from 1/80 to 1/320. My ISO stayed at 800. Here is a really cool website that shows more unique water drops. http://www.smashinglists.com/10-smashing-water-drop-macros/2/ Caryn Esplin is one who showed me how to make these unique photographs.
Flora and Fiona Macro Photography
Living Macro Photography
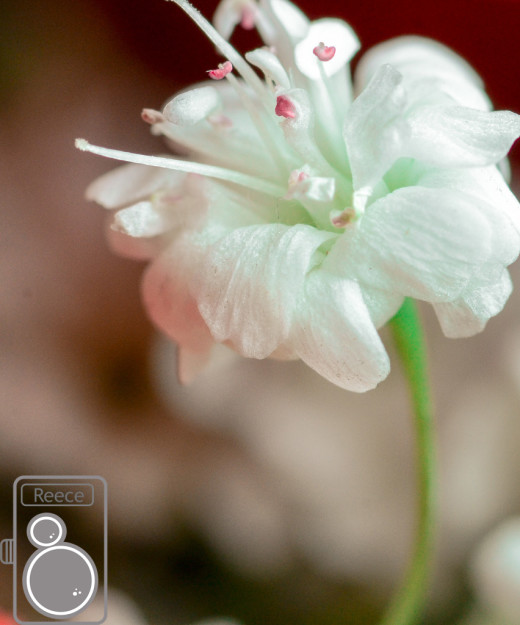
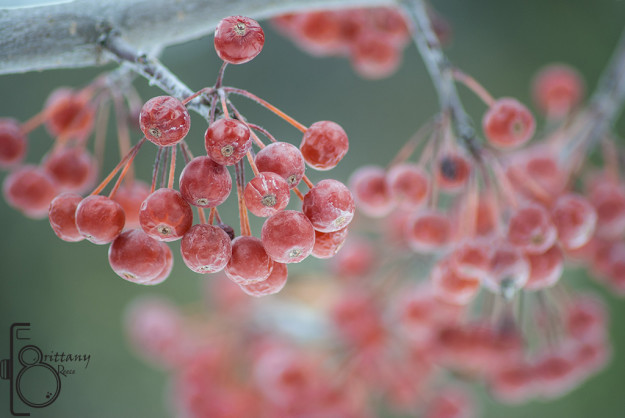
Here are some of my Flora and Fiona Macro photography shots. Using a Nikon Macro lens, these photos were all about looking for the little details that we often miss. The process was first looking for the unique detail and then finding the “sweet spot” to find and focus in on the details. My settings were ISO 800, my f/stops varied from f/11 to f/16 and my shutter speed stayed around 1/320. In Post I worked on little adjustments with the shadows and bringing out the details. I really enjoyed learning and seeing what you can do with Marco with plants, fruit, and people.
Here is a cool photography website that shows more about taking photos of flowers. http://www.deshow.net/flowers/macro-flower-photography.html. Caryn Esplin is one who has influenced and helped me to learn about and become better at marco photography.
17 Again Movie Poster
Movie Poster Creation
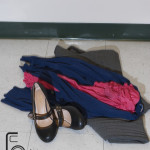
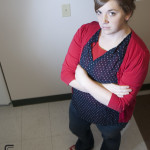
To make this photo I first started by taking my self-portrait. My camera settings were F/6.3 ISO 400 and my Shutter speed was 1/25. I used a speedlight to help bring more light into the photo. I also had my camera on a tripod on top of my kitchen table. For the clothes my camera settings was F/7.1 ISO 400 and my shutter was 1/20.
In post, I used Photoshop to combine all the layers. I took time to find the right fonts and to align them correctly.
This idea came from people always guessing my age younger then I am. I talked with Haleigh and Mariah on how I could make my idea even better.
Here is a cool website of some really neat designed posters!
Ordinary Spot Extraordinary Shot photography
Looking for the Fine Details
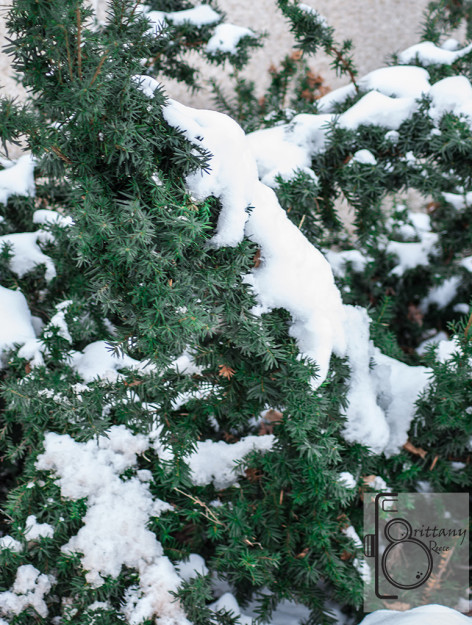
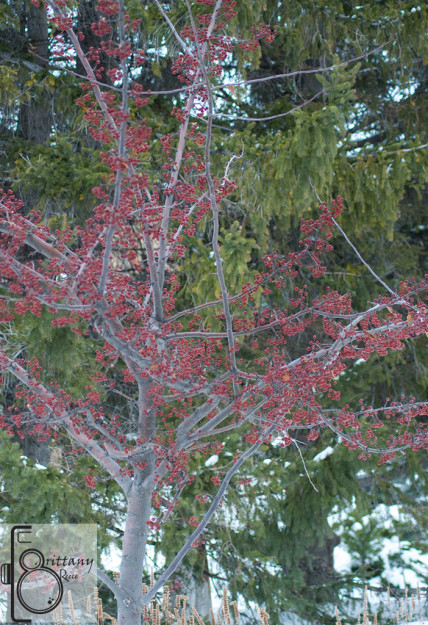
Photographers are always looking for The spot. The truth is, with a little imagination and creative look you can turn just about any spot into The spot. For these photos, I went for a walk for an hour. I began looking for the fine details and what specifically caught my eye when I first looked at the scene.
There are many fine details up close I focused on taking Marco photography shots. Here is another Photographer DL Cade. He has done really well with finding the Extraordinary shot in very ordinary areas.
Lighting Portrait Photography
Portrait Photography
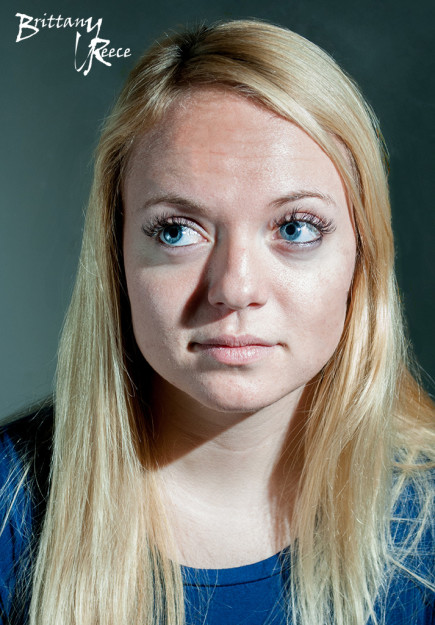
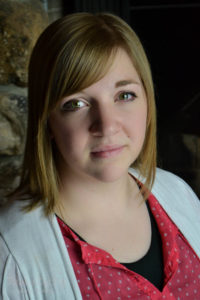
For these Portraits I used a speed light to direct the light. I also used a tripod to help set the light to create the shadows on the face. The settings in my camera were F 5.6 and the shutter speed was 1/100. I also increased the ISO to 400 since I was inside.
In post I sharpened the eyes and the mouth. I also cleaned up the hair a little more and brightened the overall pictures. My models were my roommates Kelsie and Karmee. Knowing their personalities I wanted to show their unique looks and best features.
Here is another cite that shows how to work with models when taking portraits. http://photo.net/learn/portraits/
Unique Lighting Photography
Unique Speed light Photography tricks
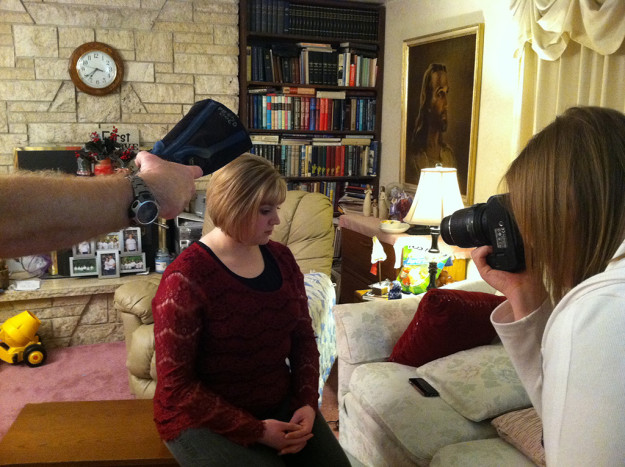
These photos were all taken inside my living with with yellow lighting all around. To get the effects shown in these photographs, I used a speed light. For my camera settings I set my aperture to F8, my ISO 100, and my shutter speed was 1/100. Then using triggers on my camera and speed light, I placed the speed light at different angles. I moved the light around to different angles above and to the side of the subject to change the look and feel to each of the photographs. My model is Heather Reece, my sister. For my post editing I use Adobe Lightroom and adjusted the black even more to create a more dramatic look in each photograph. I also did a little bit of cropping to bring the focus where I wanted it to be. Caryn Esplin really helped to teach me this technique.
This website teaches some other quick and useful tips on how to take other types of portrait photography.
